Running RSparkling on Databricks Azure Cluster
Sparkling Water, PySparkling and RSparkling can be used on top of Databricks Azure Cluster. This tutorial is the RSparkling.
For Scala Sparkling Water, please visit Running Sparkling Water on Databricks Azure Cluster and for PySparkling, please visit Running PySparkling on Databricks Azure Cluster.
To start Sparkling Water H2OContext on Databricks Azure, the steps are:
Login into Microsoft Azure Portal
Create Databricks Azure Environment
In order to connect to Databricks from Azure, please make sure you have created user inside Azure Active Directory and using that user for the Databricks Login.
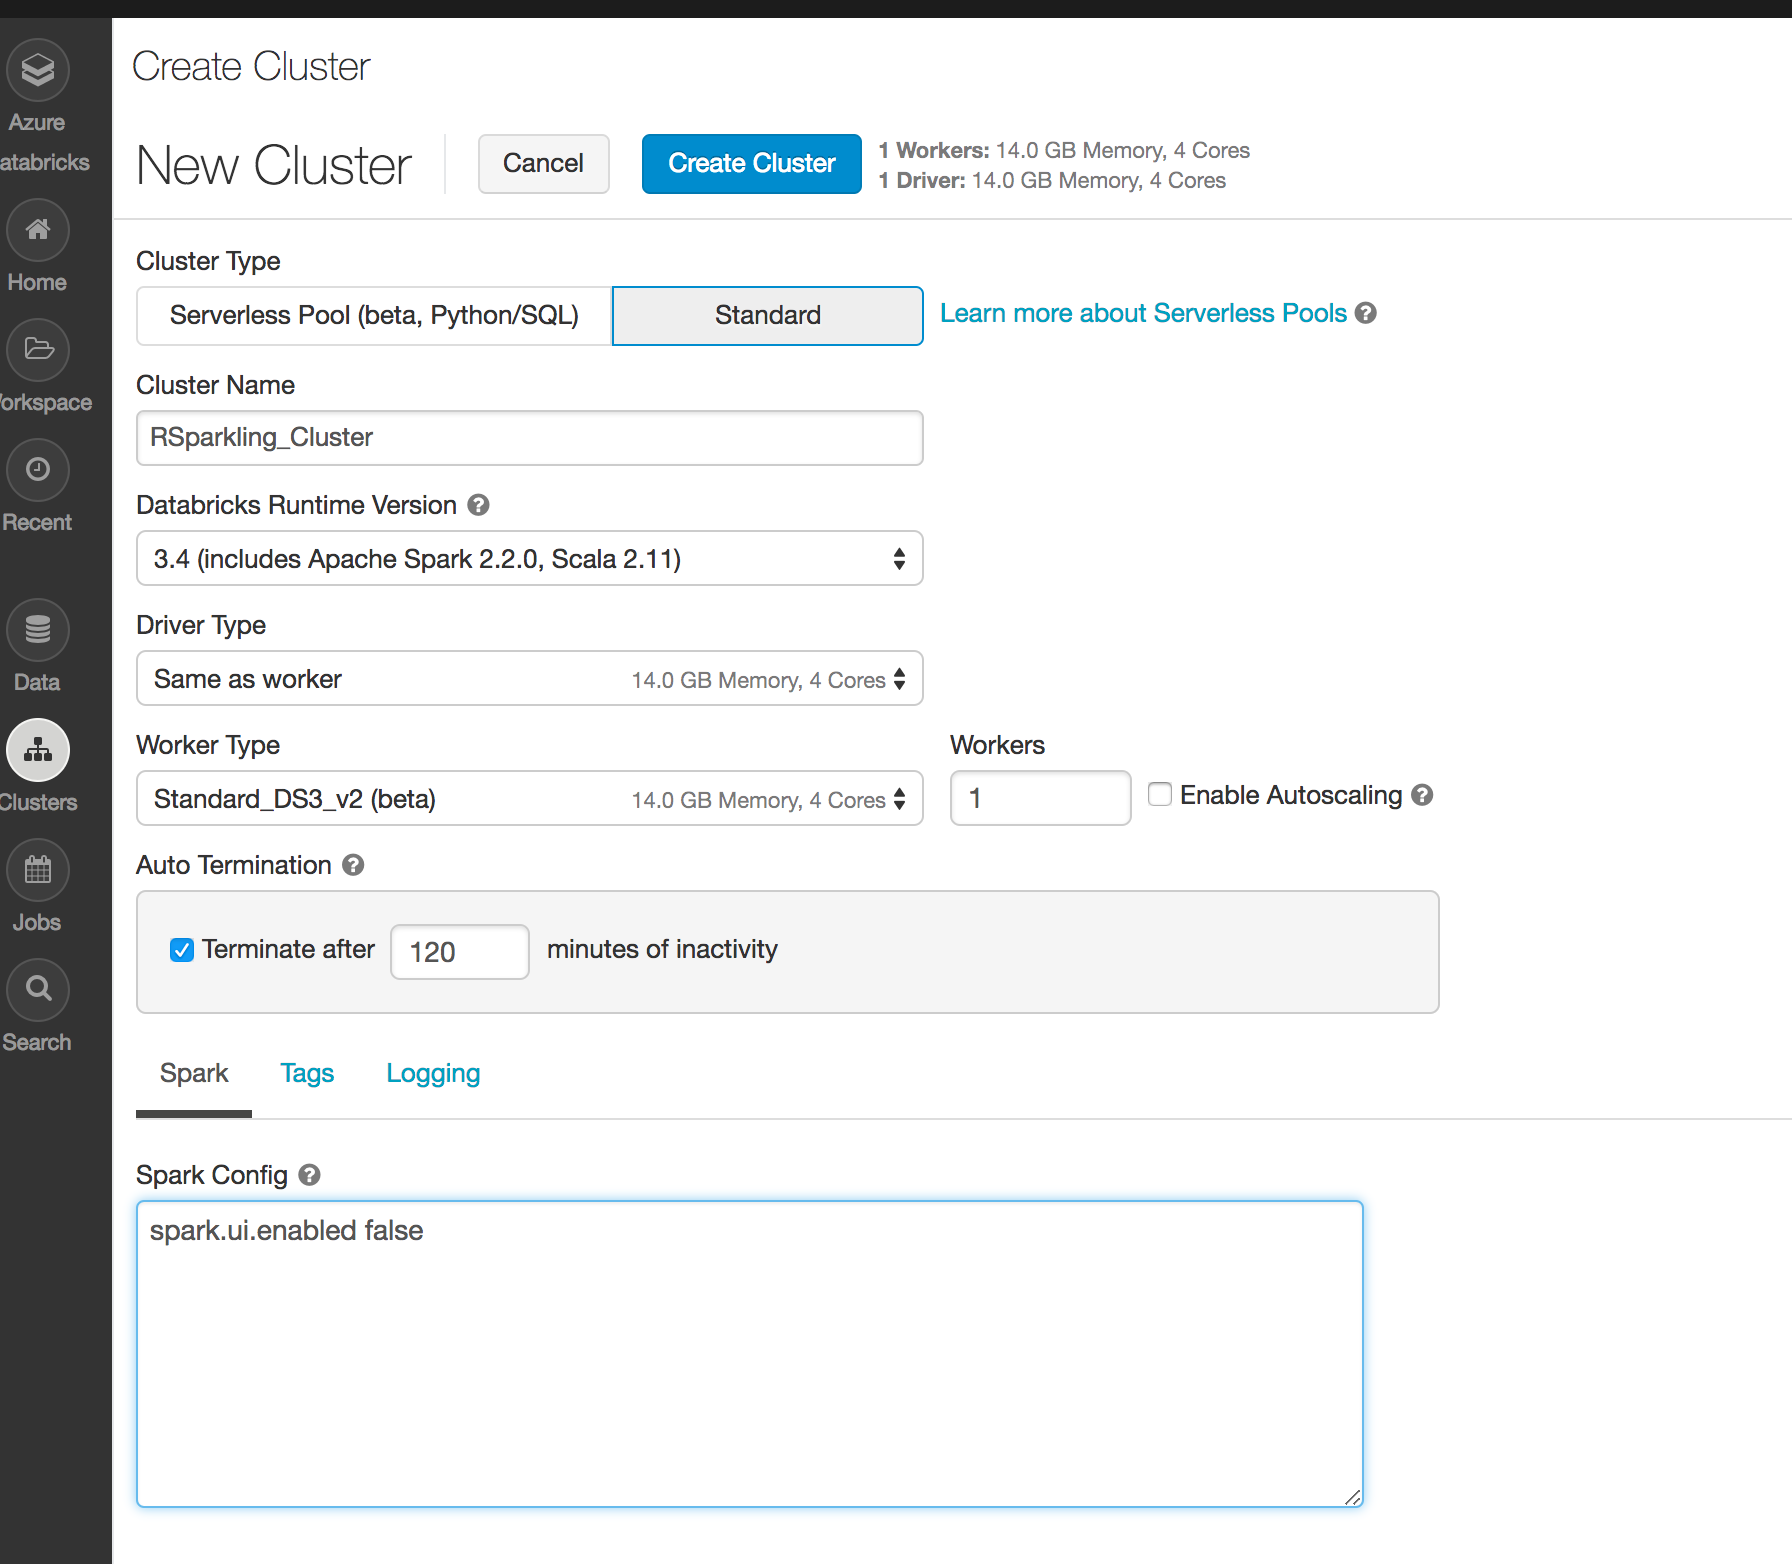
Create the cluster
For Sparkling Water 3.28.0.4-1-2.4 select Spark 2.4.5
It is advised to always use the latest Sparkling Water and Spark version for the given Spark major version.
Create R notebook and attach it to the created cluster. To start
H2OContext, the init part of the notebook should be:# Install Sparklyr install.packages("sparklyr") # Install H2O 3.28.0.4 (yu) install.packages("h2o", type = "source", repos = "http://h2o-release.s3.amazonaws.com/h2o/rel-yu/4/R") # Install RSparkling 3.28.0.4-1-2.4 install.packages("rsparkling", type = "source", repos = "http://h2o-release.s3.amazonaws.com/sparkling-water/spark-2.4/3.28.0.4-1-2.4/R") # Connect to Spark on Databricks library(rsparkling) library(sparklyr) sc <- spark_connect(method = "databricks") # Start H2O context h2o_context(sc)
And voila, we should have
H2OContextrunning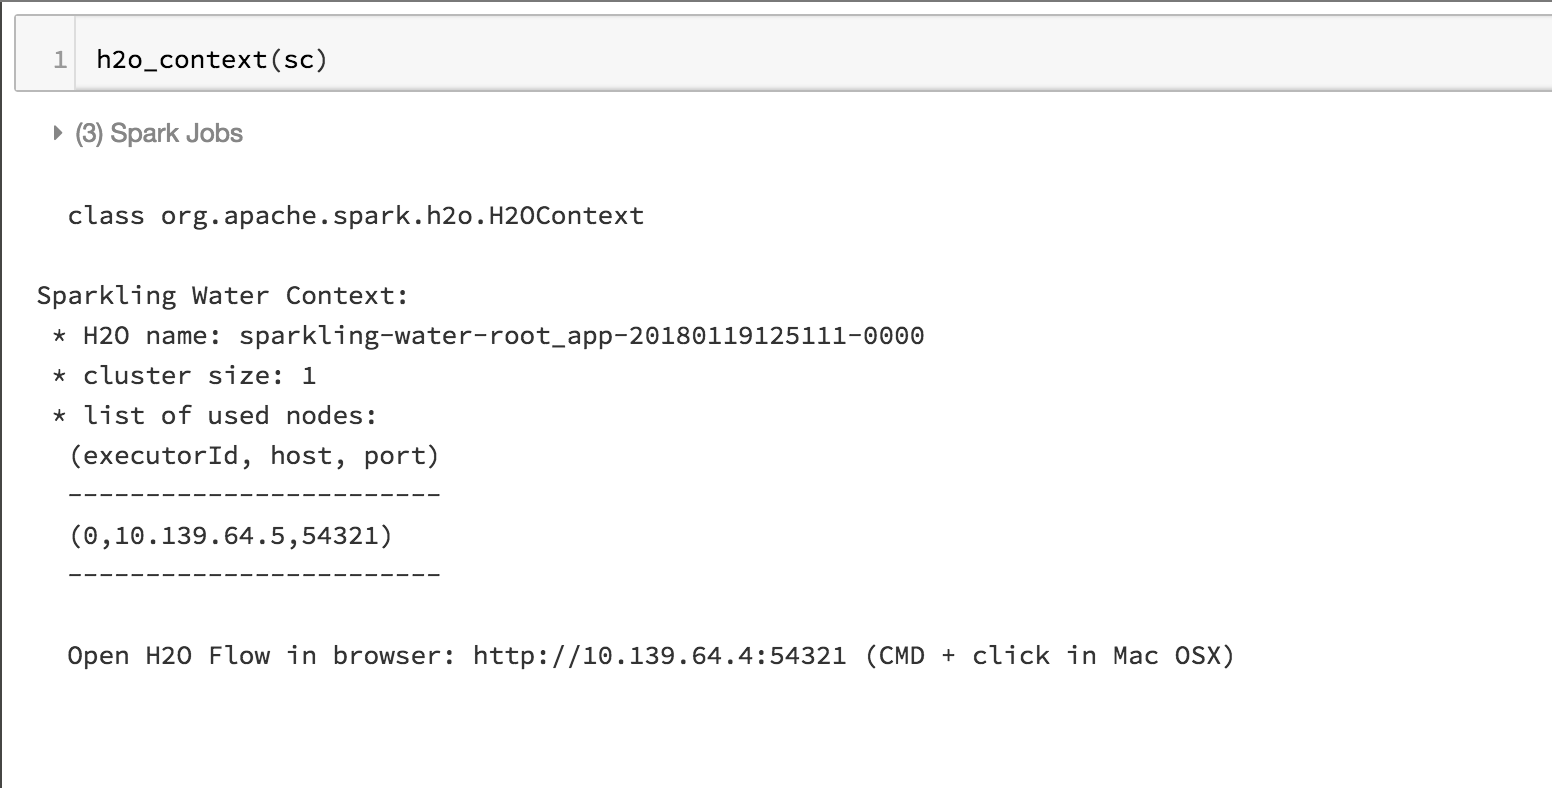
Flow is accessible via the URL printed out after H2OContext is started. Internally we use open port 9009. If you have environment where different port is open on your Azure Databricks cluster, you can configure it via
spark.ext.h2o.client.web.port.