Install H2O on the Google Cloud Platform Offering
This section describes how to install and start H2O Flow (H2O-3 web offering) in a Google Compute environment using the available Cloud Launcher offering.
- In your browser, log in to the Google Compute Engine Console at https://console.cloud.google.com/.
- In the left navigation panel, select Cloud Launcher.
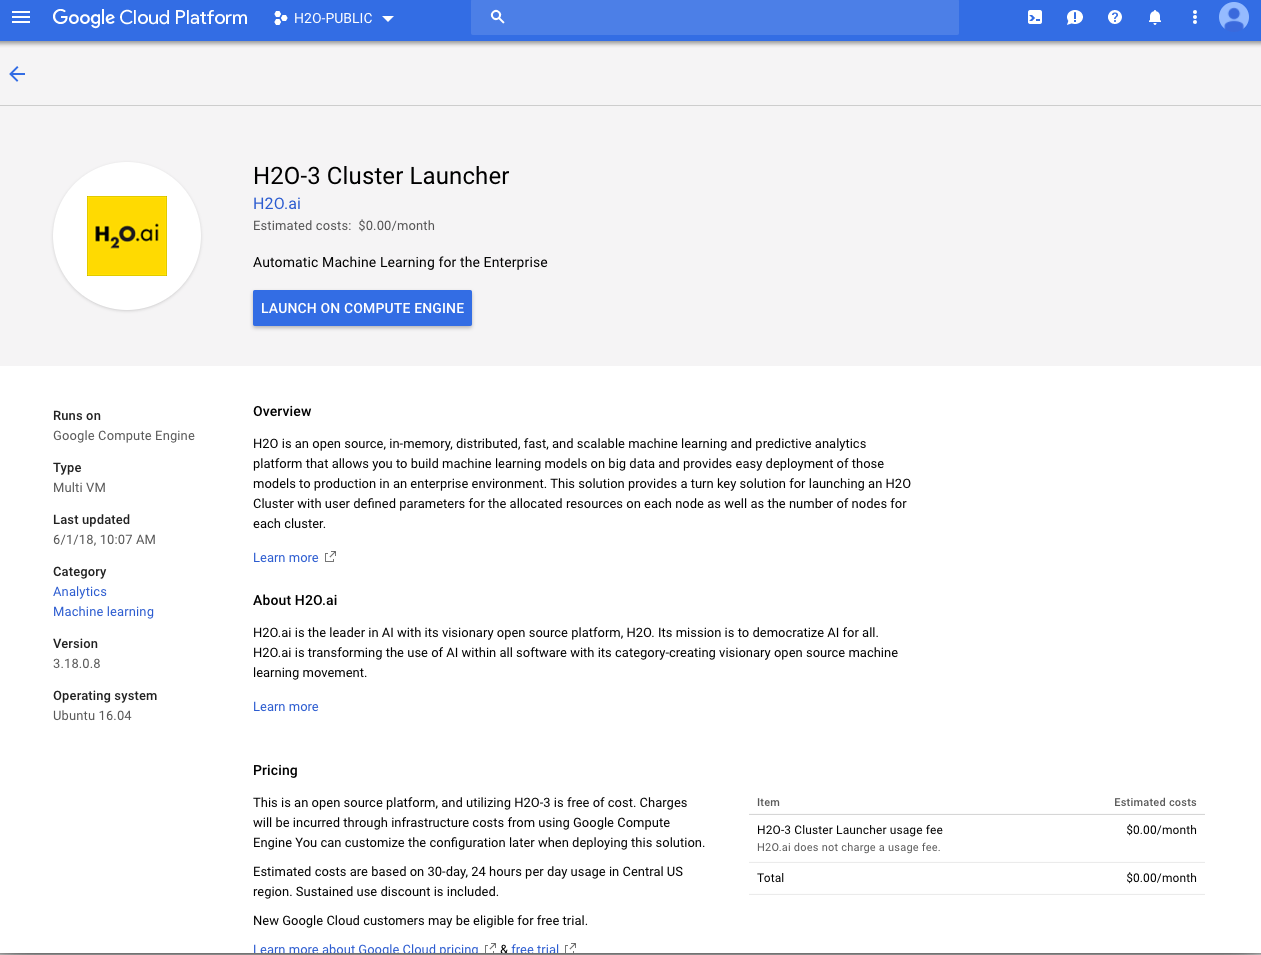
- On the Cloud Launcher page, search for H2O and select the H2O-3 offering.
- Click Launch on Compute Engine.
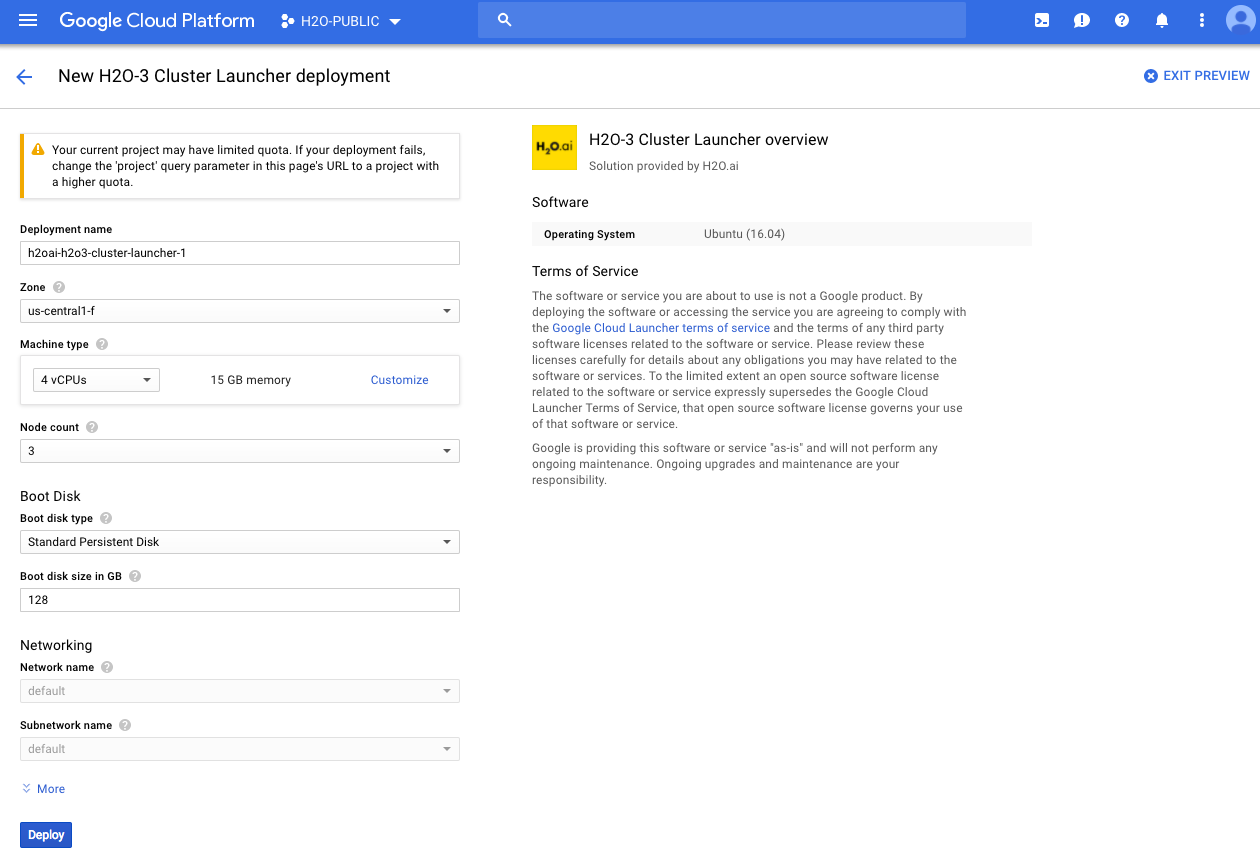
- Specify a name for this deployment.
- Select a zone for the deployment.
- Select or customize a machine type and memory amount.
- Specify the number of nodes for the virtual machine.
- Specify the boot disk type and size (in GB).
- Specify the network and subnetwork names.
Click Deploy when you are done. H2O-3 will begin deploying. Note that this can take several minutes.

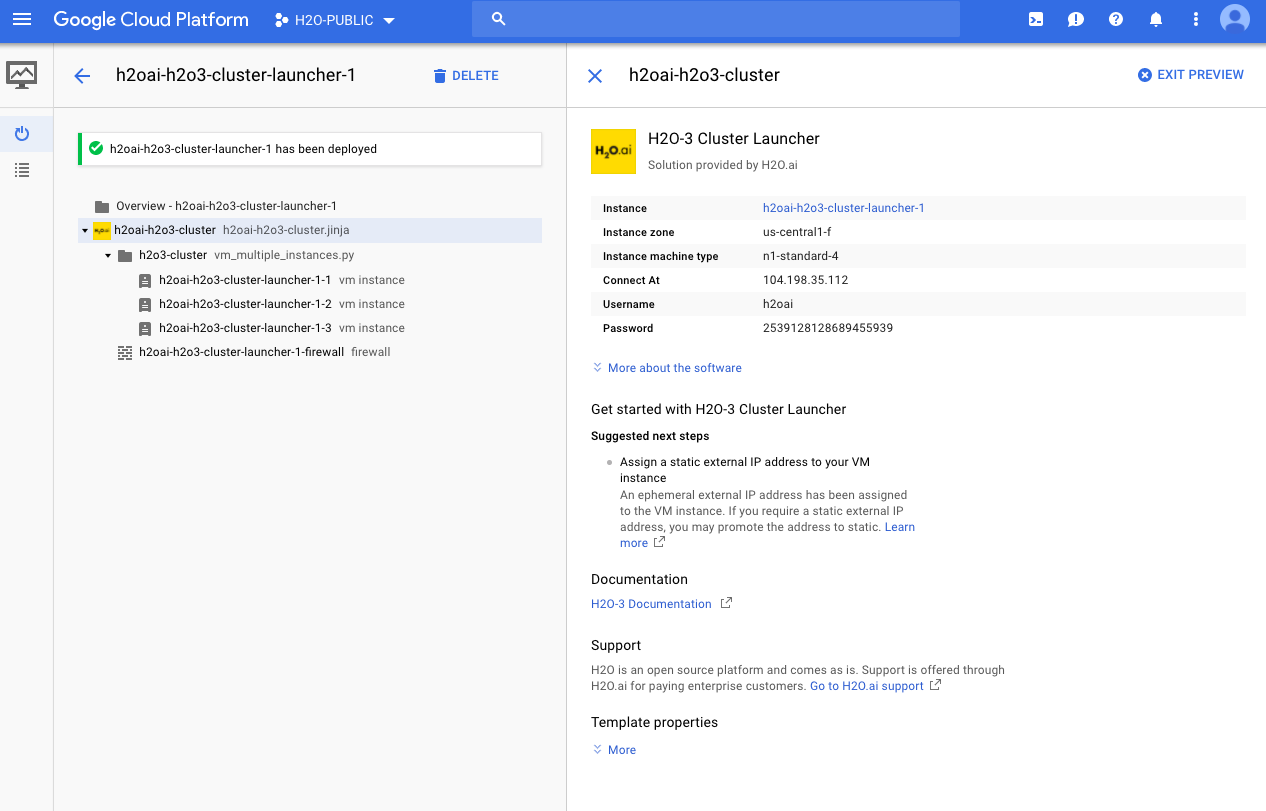
- A summary page displays when the compute engine is successfully deployed. This page includes the instance ID and the username (always h2oai) and password that will be required when starting H2O-3. Click on the Instance link to retrieve the external IP address for starting H2O-3.
- Start H2O-3 using one of the following methods:
Python: Run
h2o.connect(address, port=443, username, password)R: Run
h2o.connect(address, port=443, username, password)Flow: In your browser, go to http://[External_IP]:443 or https://[External_IP]:80 to start Flow. Enter your username and password when prompted.
Note: When starting H2O Flow, you may receive a message indicating that the connection is not private. Note that the connection is secure and encrypted, but H2O uses a self-signed certificate to handle Nginx encryption, which prompts the warning. You can avoid this message by using your own self-signed certificate.


