Install H2O on the Google Cloud Platform Offering
This section describes how to install and start H2O Flow (H2O-3 web offering) in a Google Compute environment using the available Cloud Launcher offering.
Before You Begin
If you are trying GCP for the first time and have just created an account, please check your Google Compute Engine (GCE) resource quota limits. Our default recommendation for launching H2O-3 is 4 CPUs, 15 GB RAM, and 3 nodes. By default, GCP allocates a maximum of 8 CPUs, so most H2O-3 users can easily run without reaching a quota limit. Some users of H2O, however, may require more resources. If necessary, you can change these settings to match your quota limit, or you can request more resources from GCP. Refer to https://cloud.google.com/compute/quotas for more information, including information on how to check your quota and request additional quota.
Installation Procedure
- In your browser, log in to the Google Compute Engine Console at https://console.cloud.google.com/.
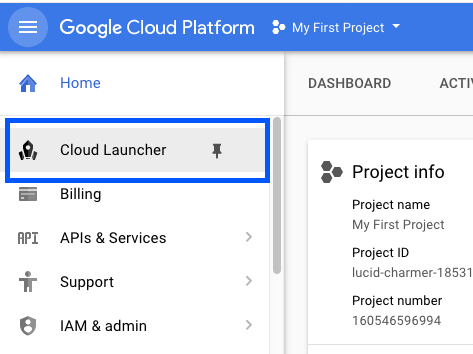
- In the left navigation panel, select Cloud Launcher.
- On the Cloud Launcher page, search for H2O and select the H2O-3 offering.
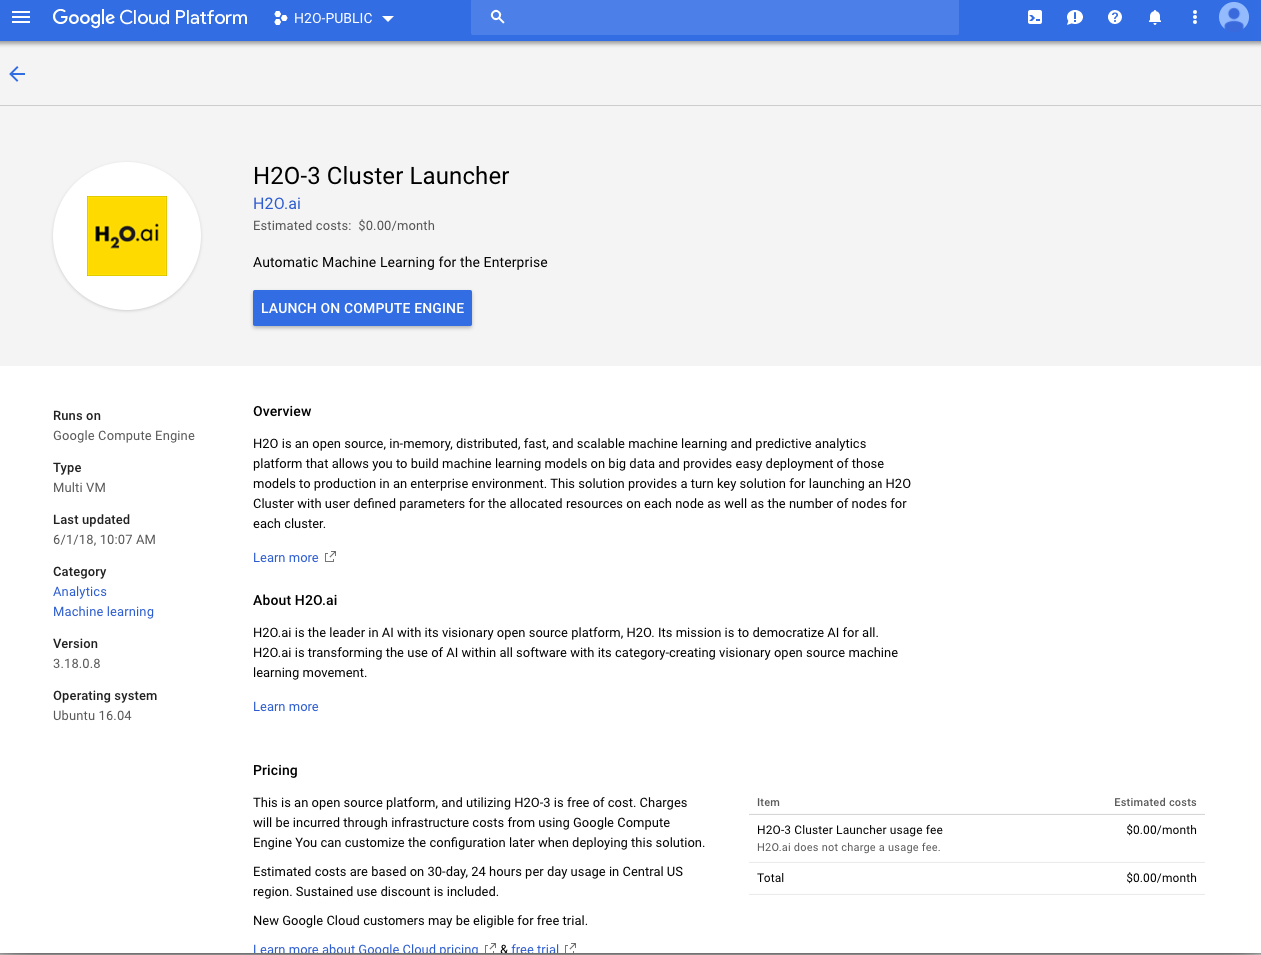
- Click Launch on Compute Engine.
- Specify a name for this deployment.
- Select a zone for the deployment.
- Select or customize a machine type and memory amount.
- Specify the number of nodes for the virtual machine.
- Specify the boot disk type and size (in GB).
- Specify the network and subnetwork names.
Click Deploy when you are done. H2O-3 will begin deploying. Note that this can take several minutes.

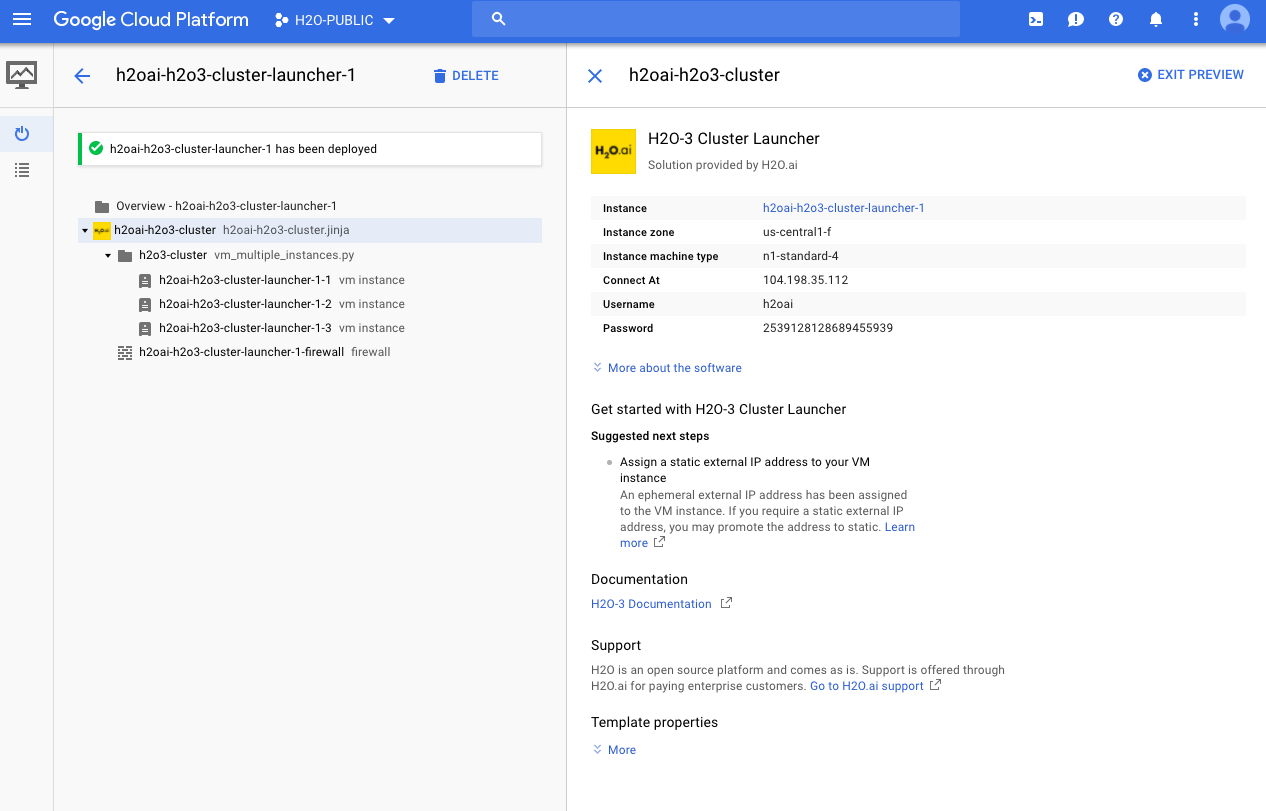
- A summary page displays when the compute engine is successfully deployed. This page includes the instance ID and the username (always h2oai) and password that will be required when starting H2O-3. Click on the Instance link to retrieve the external IP address for starting H2O-3.
- Start H2O-3 using one of the following methods:
Python: Run the following
h2o.connect(url="https://[external ip]:443", auth=(username, password))R: Run the following
h2o.connect(ip="[external ip]", port=443, https=TRUE, username=username, password=password)Flow: In your browser, go to http://[External_IP]:443 or https://[External_IP]:80 to start Flow. Enter your username and password when prompted.
Note: When starting H2O Flow, you may receive a message indicating that the connection is not private. Note that the connection is secure and encrypted, but H2O uses a self-signed certificate to handle Nginx encryption, which prompts the warning. You can avoid this message by using your own self-signed certificate.