Using H2O with Nimbix
The Nimbix Cloud is a high performance computing (HPC) platform. Through either a portal or a processing API, the Nimbix Cloud runs compute-intensive applications on bare-metal machines. These applications can include CPU, GPU, FPGA systems, or a supercomputing cluster.
This section shows to run H2O on the Nimbix Cloud and walks you through the following steps:
- Initial setup
- Creating applications
- Pulling applications
- Running applications
This assumes that you have a Nimbix account. If you do not, then contact your administrator or sign up for one at http://www.nimbix.net.
Initial Setup
Log in to your Nimbix account at https://mc.jarvice.com/.
Click the Nimbix logo in the upper right corner to expand the Nimbix sidebar.

Click Account in this right-hand menu. The Profile page should open by default. If it is not open, then on the left menu, click Profile to open the Profile page. This page shows your API key.
Your API key is important for SFTP file transfer. Every account has a specific file storage that is distributed among all of your applications. To access this, you can use SFTP on the command-line or another SFTP client such as Cyberduck or Filezilla.
Example:
sftp <username>@drop.jarvice.com password: <API KEY>Warning: To avoid issues with Jupyter Notebooks opening to an empty folder, we suggest placing at least 1 file into your file storage before continuing.
Alternatively, you can launch the Nimbix File Manager, which is a GUI based application that runs inside of Nimbix.
Initial Application Creation
This section describes how to create the following applications. Note that when specifying the Docker repository, H2O.ai principal repo is “opsh2oai”, and all h2o images have “nae” appended.
- H2o3 Core: Docker repository opsh2oai/h2o3-nae
- H2oAI: Docker repository opsh2oai/h2oai_nae
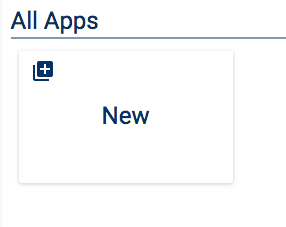
In the right-side menu, select the PushToCompute™ menu option, then click the New icon.
Specify a name for your application, for example “h2o3”.
Enter the docker repository. For example “opsh2oai/h2o3_nae”.
Select “Intel x86 64-bit (x86_64)” from the System Architecture drop down.
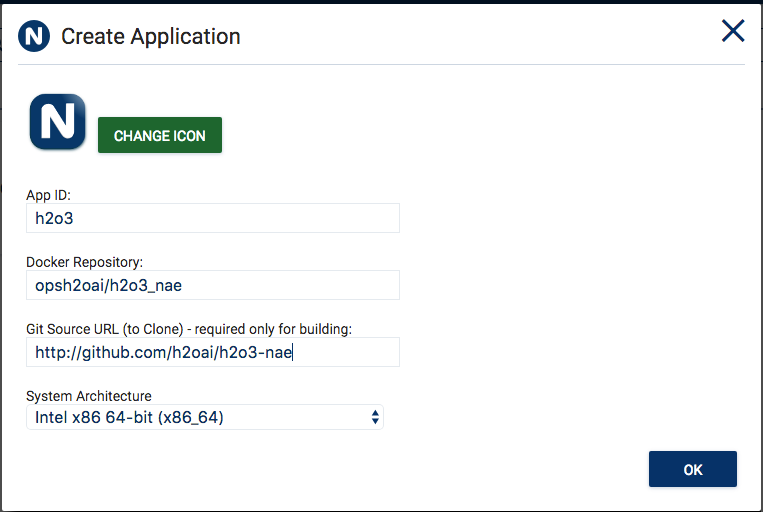
Click OK when you are done.
Repeat steps 1 through 5 for the following applications:
- H2oAI: Docker repository opsh2oai/h2oai_nae
- H2o3 for Power8: Docker repository opsh2oai/h2o3_power_nae. Note: For H2o3 for Power8, DO NOT use “Intel x86 64-bit (x86_64)”. Instead, select “IBM Power 64-bit, Little Endian (ppc64le)” from the System Architecture drop-down menu.
Pull Applications
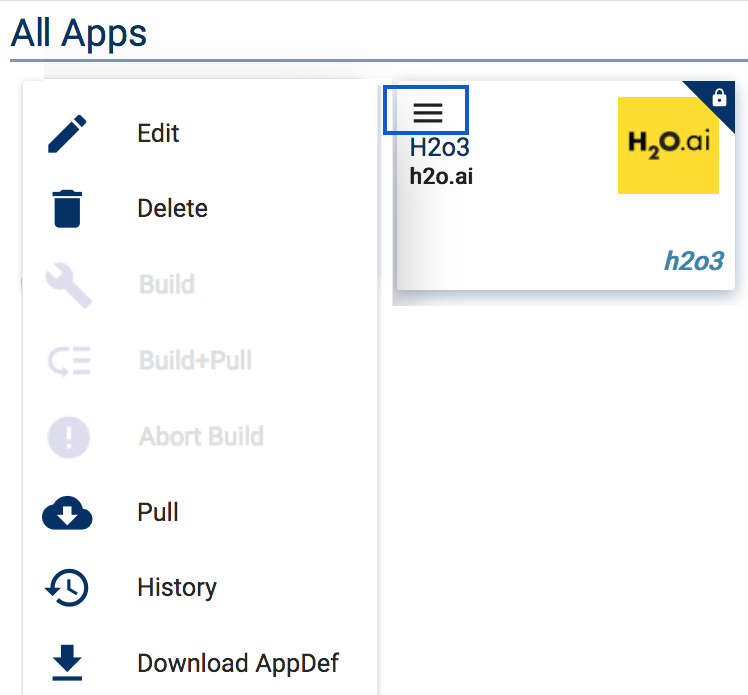
After applications are created, the next step is to pull each application. For each application, click the menu icon (three lines) in the upper-left corner of the application, then click Pull.
Once you start a pull, you will receive an email from Nimbix stating that a Pull has been scheduled followed by another when the Pull is completed. After you receive the final email stating that the Pull has completed, your application is ready to use.
Note: To avoid UI issues with Nimbix, we recommend logging out and then logging back in to ensure that the template and UI for the Application has been properly loaded into the NAE framework.
Running Applications
This section shows how easy it is to run applications after they are built and pulled.
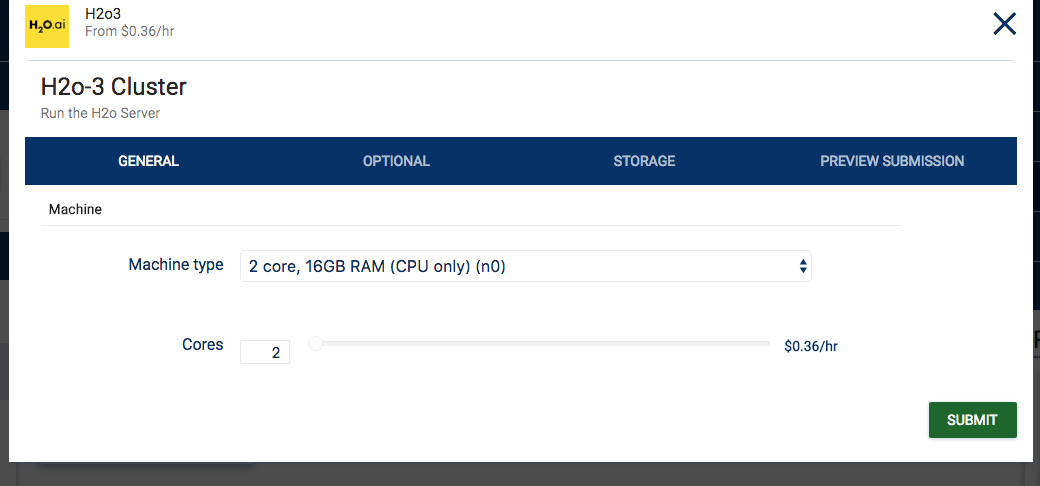
- Select the Application and the desired launch type (for example Batch, H2O-3 Cluster, Jupyter Notebook, or SSH).
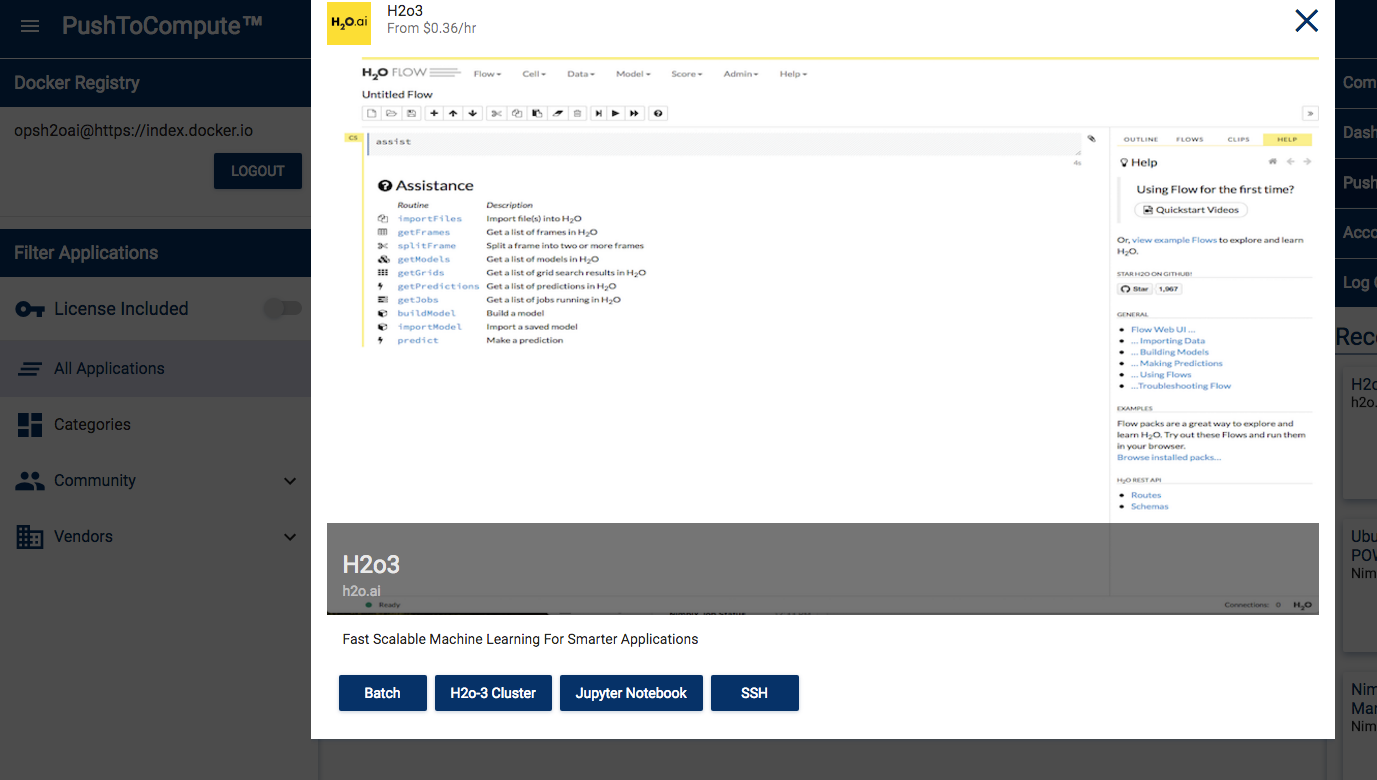
- Select the Machine Type and the number of cores, then click Submit.
That’s it! At this point, you are now running your H2O applications in Nimbix.
Warning: Be sure to shut off your instances when you are done.